하나는 물푸레 나무, 하나는 참나무로.
두 개 모두 거의 같은 구조로 했는데 주먹장으로 상하좌우판을 조립했다.
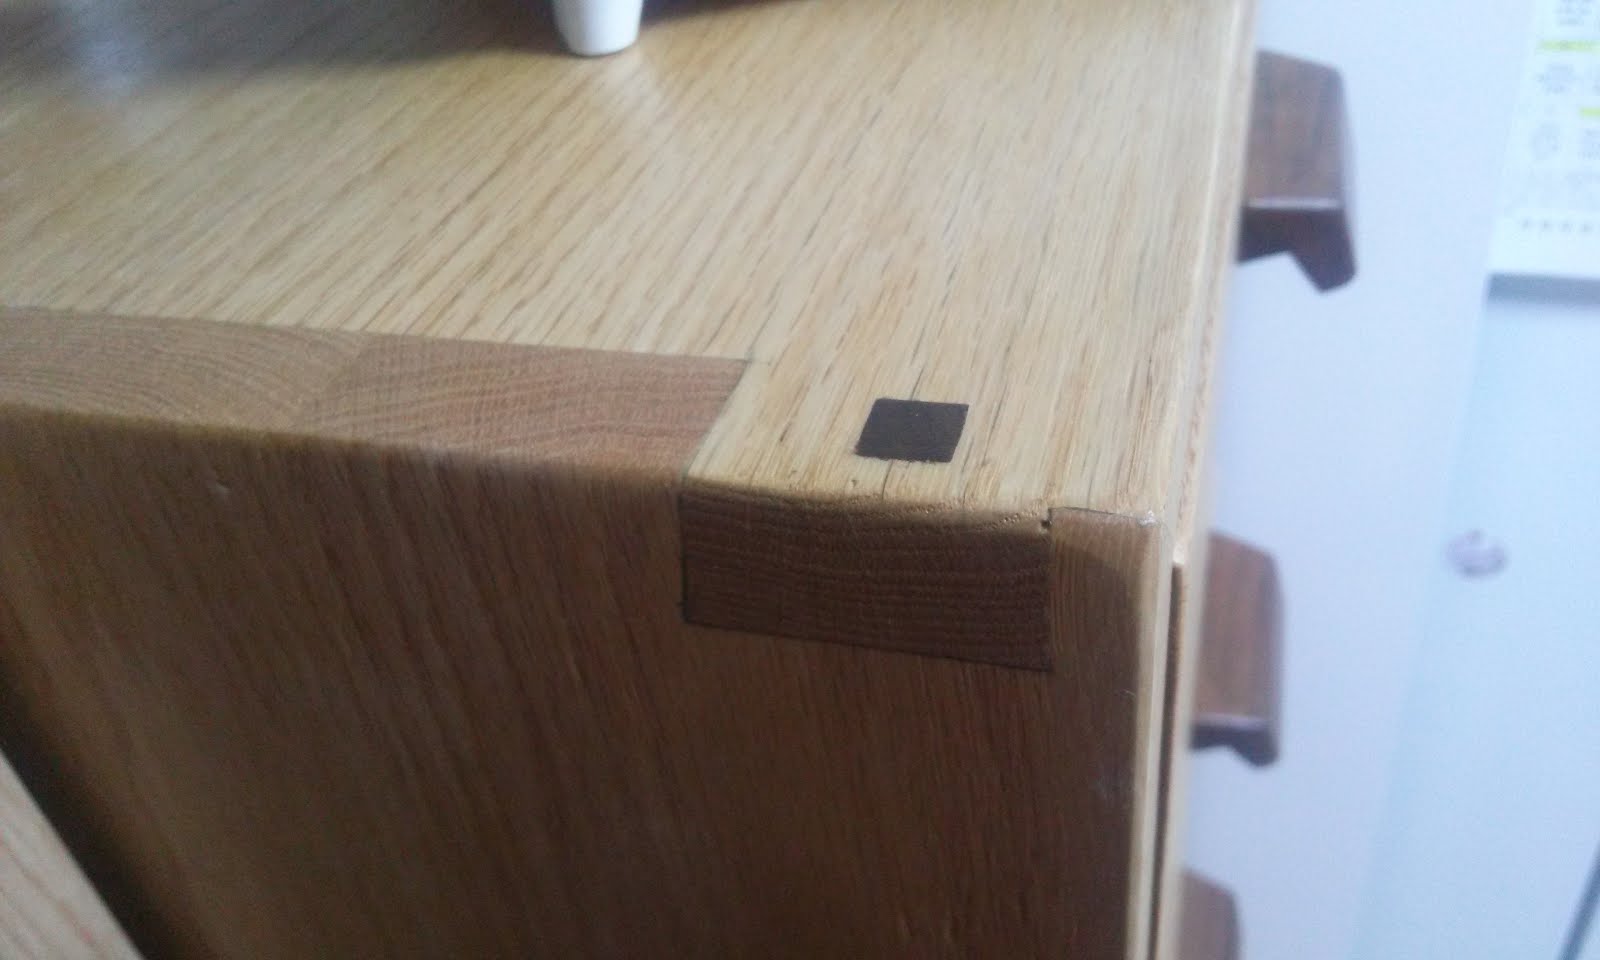
그리고 마지막에 공들인 게 손잡이다.

내가 구독하고 있는 마티아스 완델이라는 목수가 손잡이를 만든 걸 보고 따라해 봤다.


신경써야 할 부분은 자르는 순서와 각도이다.
손잡이를 만들고 나서 구멍을 뚫을 때 지그를 만들어야 구멍을 단면에 수직으로 낼 수 있다.
구멍 위치는 스케치업으로 손잡이 면의 사다리꼴과 나사 구멍 두 개를 그리고 , 실물 크기로 출력해 접착 면에 풀로 붙여서 뚫었다. 구멍을 내는 게 반복된 일이지만 하나씩 잴 필요도 없고 작업도 편하고 정확하다.
스케치업의 실물 크기 출력 기능은 반복 작업에 상당히 유용해서 추천할 만하다.
I made two drawers last year. One is made of ash, the other is oak.
Architecture of the two furniture was almost same. I assembled outside four panels using dovetail joint. I cut them all with hand saw and chisels. but did box joint to inner drawers by table saw.
Significant feature of these crafts was walnut pulls inspired by Mattias wandel's idea.
https://www.youtube.com/watch?v=-ktiGp3sT4U
I minded the sequence of cuts and angle after jointing basic two walnut boards.
And I also made a small jig for drilling pilot screw holes precisely as I watched in the video.
It was very convenient to use 1:1 scale printing option at Sketchup. To to that, I measured the attaching surface of pull, drew the trapezoid shape, pointed appropriate two holes for screw.
That method is recommendable for repeating work.
댓글 없음:
댓글 쓰기